Let’s say you have a Domain registered in GoDaddy, Arsys, Ionos, OVH, CDMon… in essence in a different provider of Amazon Web Services (AWS), and you have your site or web application in an EC2 instance. Then this tutorial is for you!
Amazon Route 53
Amazon Route 53 is a highly available and scalable Domain Name System (DNS) service in the cloud. It is designed to offer developers and businesses a reliable and cost-effective method of redirecting end users to applications.
With Amazon Route 53, we can create and manage public DNS records using the AWS Management Console or an easy-to-use API, and we can automatically direct your website visitors to an alternate location to avoid service interruptions.
You can easily perform this in 3 simple steps:
Step 1: Create a Hosted Zone on Route 53
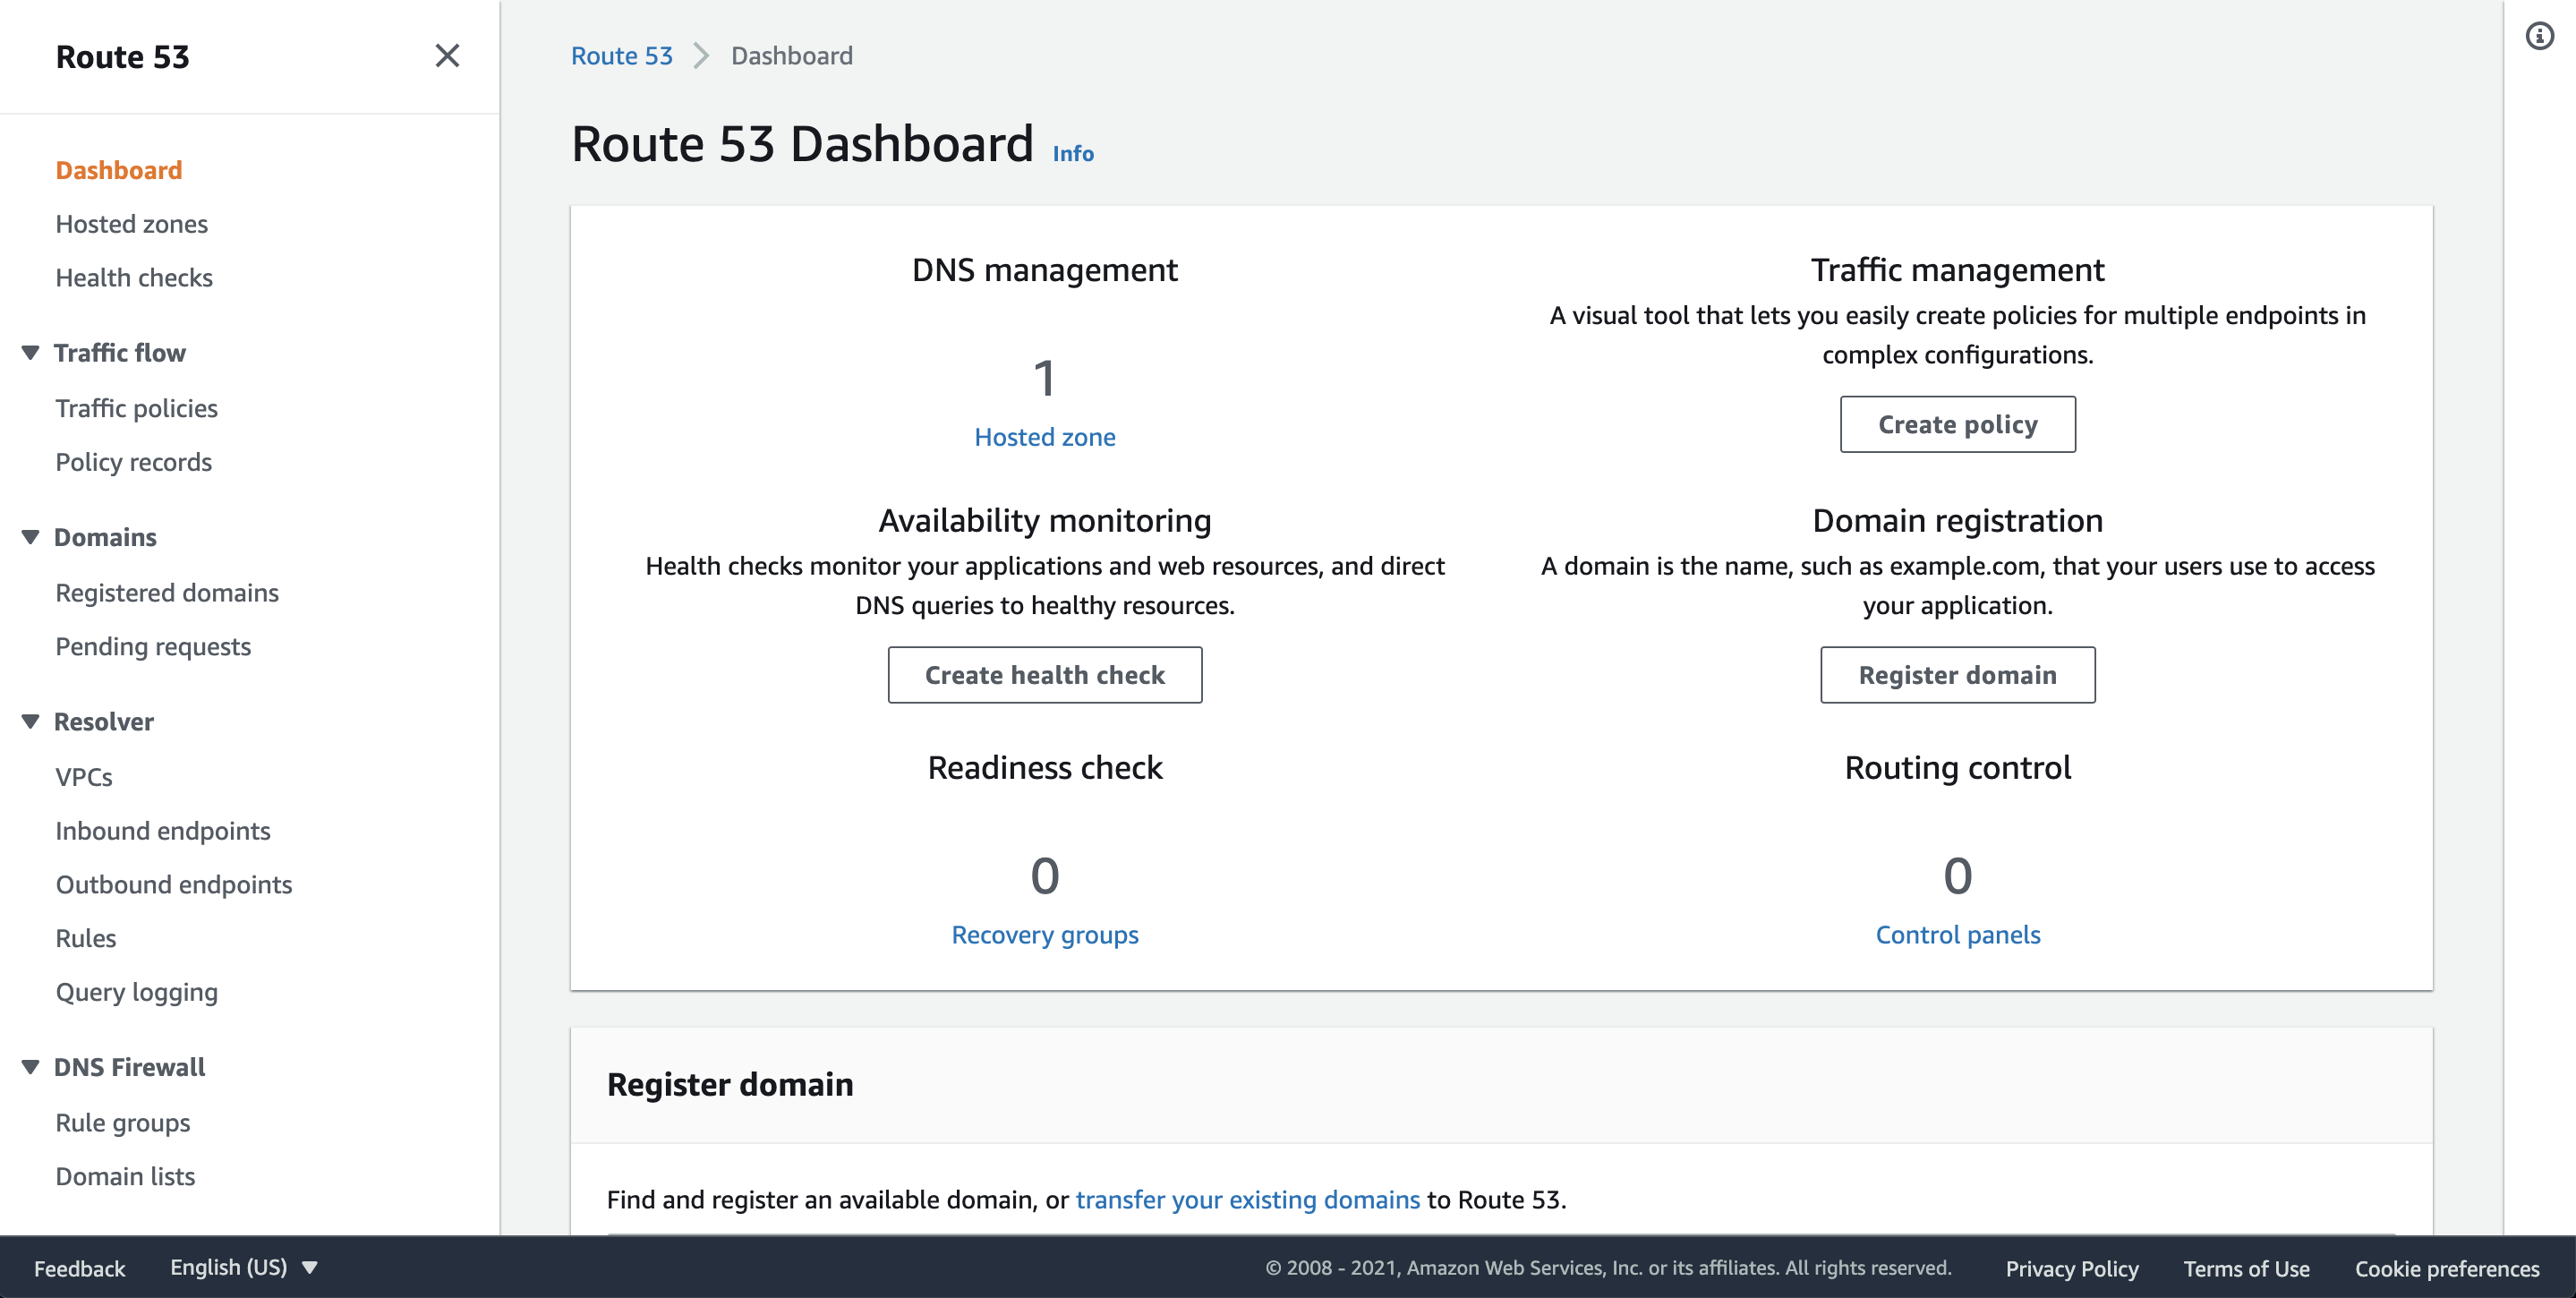
First of all, go to the AWS Console and open the Route 53 console https://console.aws.amazon.com/route53/
Once you are in Route 53 Console, if you’re new to Route 53, you can choose «Get started under DNS management», and then choose «Create hosted zones», otherwise choose «Hosted zones», and then click on «Create hosted zones».
Then, in the Create hosted zone pane, you have to enter a domain name, and in «Type», accept the default value of Public hosted zone.
Finally, click on «Create hosted zone».
Step 2: Create Records and replicate your current DNS configuration on Route 53
Once you have created a hosted zone, you can create records in the hosted zone that define where you want to route traffic for a domain or subdomain, etc. If you want to route traffic for jokiruiz.com and www.jokiruiz.com to a web server on an Amazon EC2 instance, you have to create 2 records, one named jokiruiz.com and the other named www.jokiruiz.com, and specify in each record, the IP address of your EC2 instance or public ELB.
And finally, you will need to replicate all your current DNS configuration and records on Route 53, as you are going to use Route 53 as DNS server, replacing your DNS provider.
Step 3: Update the NS records of your current DNS provider, to use Route 53 name servers
First, we need to get our Route 53 name servers. To do so, on the Hosted zones page, choose the name for the applicable hosted zone, and Copy the four names listed for Name servers in the Hosted zone details section.
And finally, go to your current DNS service to update the NS record for the hosted zone. Make sure you note the names of the current name servers in the NS record for the hosted zone, in case you need to revert to the current DNS configuration in the future. When you’re finished, the only name servers in the NS record will be the four Route 53 name servers.